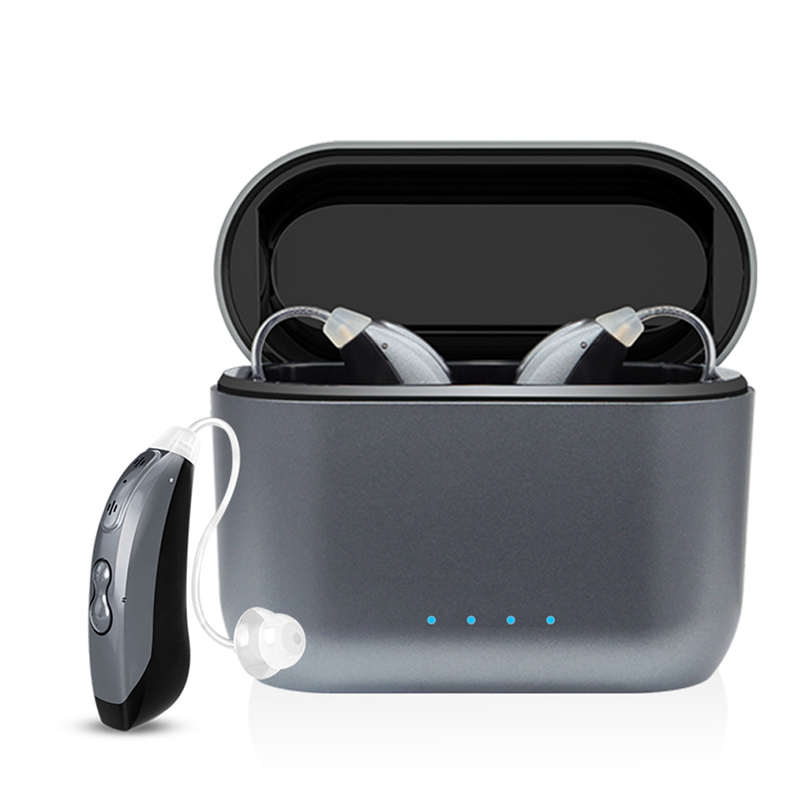
How to clean earwax from hearing aids
If you currently wear hearing aids or are considering whether they may be right for you, it’s important to understand how to clean hearing aids of wax. While certain chargers can also help clean and dry certain hearing aids, self-cleaning hearing aids don’t exist yet. However, learning how to remove earwax when you wear hearing aids is simple, quick, easy and an important way to keep your hearing devices working well for as long as possible.
Before we cover the details, here are few tips to help you get started:
- Make sure you have the right tools. These typically include items like a small brush and a set of wax guards, which we’ll cover below. Keep these accessible so that you’ll be prepared to use them frequently.
- Set a schedule for when you’ll clean your hearing aids. Decide when you’ll clean your hearing aids each day — perhaps first thing in the morning or right before bed. It may help to leave yourself a reminder note or set an alert on your phone.
- Talk to your hearing care professional about how to remove earwax from hearing aids. They can demonstrate the process during your visit and answer questions about how to care for your specific hearing aid model.
Tip #3: Clean your hearing aids regularly
Cleaning your hearing aids every night before bed or in the morning before you put them on is one of the best ways to preserve them. Without this important step, hardened wax can build up over time and become difficult to remove.
Tip #4: Replace your wax guards regularly (RIC Hearing Aids)
Wax guards are tiny but mighty, protecting your hearing aid technology and allowing for clear sound quality. To do their job, they need to be replaced every four weeks. If you’re prone to producing a lot of earwax, replacing them even more often is a good idea. Hearing aid wax guard replacement takes just a few seconds. Find steps for how to do so here.
Tip #5: Be careful and gentle
As powerful as hearing aids are, they’re also very delicate. Sharp objects and excessive force can cause damage, so stick with the standard cleaning tools and use them with care. Work at a smooth surface, such as a table or desk with bright lighting to make your cleaning process easier.
If any specialized adjustments are needed, always talk to your hearing care professional rather than trying to figure it out on your own.
Tip #6: Schedule cleanings with a hearing care professional
In addition to a regular at-home cleaning routine, professional cleanings will help keep your devices functioning at their best for as long as possible. A hearing care professional will be able to do a deep cleaning, check all hearing aid parts and address debris buildup to maintain your devices.
The above is the interpretation of The Best Tools and Techniques for Hearing Aid Wax Removal provided by Chinese hearing aid supplier Shenrui Medical. Link https://www.srmcm.com/Blog/The_Best_Tools_and_Techniques_for_Hearing_Aid_Wax_Removal.html of this article is welcome to share and forward. For more hearing aid related information, please visit Blog or take a look at our Hearing aids products